- Best NY style pizza dough recipe and 14 tips for success!!:
'via Blog this'

Tuesday 10 October 2017
Beet kvass is the ultimate tonic.
- Beet kvass is the ultimate tonic. Read more about the why and how.:
There’s a lot of buzz these days about superfoods.
But have you ever found it puzzling that most of what’s being touted as “superfoods” come packaged in plastic containers?
An ideal superfood is actually nutrient-dense real food. So let’s talk about beet kvass, the ultimate super tonic.
Beet kvass is a probiotic, a liver tonic and a digestive aid.
Support Your Liver
Beet kvass contains many liver-supporting properties. It is a perfect addition to any detoxification program.
This ancient liver tonic is especially helpful for preconception women as it cleanses and tonifies the liver and can prevent future morning sickness, which is so common in the first trimester of pregnancy.
Beet kvass is also an excellent support for kidney stones and gallstones.
Many report that daily consumption of beet kvass eventually eliminates liver spots that have formed on the skin!
Beet kvass provides valuable enzymes and lactic acid.
Lactic acid is a natural means of preserving food and making food less likely to harbor pathogenic bacteria.
Comprised of a variety of beneficial bacteria, lactic acid bacteria is most important in food fermentation.
Lactic acid bacteria are used in making cheese, yogurt, sauerkraut, pickles and beet kvass.
For you history buffs, beet kvass is a traditional tonic that was very popular in Russian and Ukrainian cultures dating back to the Middle Ages.
It was known to offer protection against infection and to help one deal with hangovers. Beet kvass also cleanses the blood.
Beet kvass is a wonderful addition to the diet.
Easy and economical to make and its benefits are tremendous.
It is one of the most nourishing tonics available and you will love the satisfaction that you created it yourself.
Don’t forget, beet kvass, teeming with beneficial bacteria, is a natural probiotic.
It is also rich in minerals and enzymes.
This liver tonic is an excellent digestive aid, especially for those challenged by constipation.
Your liver and skin will love it. And your immune system will be stronger for it.
Make it a daily tonic in your home!
Easy Recipe for Beet Kvass
Probably about the simplest thing on the planet to prepare, it will take about three minutes or less to have this concoction ready for brewing.
Start with a 2-quart jar.
Sterilize the jar by bringing water to a boil and pouring in the jar and then emptying the water.
3 medium beets, peeled (optional) and coarsely chopped
4 tablespoons homemade whey (optional)
1 tablespoon Celtic sea salt (use 1 ½ tablespoons if not adding whey)
spring water or purified non-chlorinated water
Cut beets into quarters, or eighths if beets are large (cutting them into 1-inch pieces).
Avoid small pieces as this will create too much fermentation.
The result of this will be an undesirably high alcohol content.
Be careful not to go smaller than ½ inch pieces.
And certainly do not grate the beets.
Beets create lots of juice, so the smaller your pieces, the more juice and hence, the more sugar.
This will accelerate the fermentation process, resulting in more alcohol and little lactic acid.
Remember, the goal is for lactic acid to increase.
The result is a tonic that is so beneficial for gut protection and supporting immunity.
Place beets, whey and salt in a 2-quart sterilized glass jar.
If you are lactose intolerant or do not have homemade whey, you can an additional ½ tablespoon Celtic sea salt.
This prevents harmful bacteria from forming during the fermentation process.
Adding whey is not essential but does encourage the growth of beneficial bacteria. Either way will work fine.
How Long?
Add purified or spring water to fill the jar.
It is very important not to use chlorinated water such as what comes out of the tap.
Chlorinated water will destroy good bacteria. Stir well and cover tightly.
Place in pantry or cupboard at room temperature.
If you have other starters or cultured foods in process (such as sourdough starter or yogurt), separate the various ferments and cultured foods.
Make sure all your cultured, fermented foods and tonics are at least 6 feet away from one another.
This way the developing friendly bacteria of your yogurt doesn’t mingle with the bacteria of the beet kvass, affecting the flavor.
Allow your beet kvass to sit out at room temperature for 24 hours to 7 days, depending upon temperature, humidity, specific microbial ecology and your personal flavor preference.
Colder, drier climates will require the longer time period for fermentation. In hot and humid climates the beet kvass will be ready in 24-36 hours.
After a day and a half, if any white mold has formed, simply spoon it off the top.
Taste the kvass.
Once to your liking, refrigerate as is. Or remove the beets and decant the kvass into individual bottles.
Then seal tightly and leave at room temperature for another day or two, allowing carbonation to form.
Refrigerate after fermentation period.
Enjoy a glass each day!
Please Note: This post contains affiliate links. If you purchase through these links, there is no additional charge to you, but Biodynamic Wellness does receive a small commission from the company. This helps us to cover the basic costs for this website and allows us to continue providing you with free content. Thanks so much for your support!
'via Blog this'
Thursday 5 October 2017
Radicchio Recipes by Martha Stewart.
Radicchio Recipes | Martha Stewart:
Ingredients
1 pound spaghetti
8 ounces fresh ricotta cheese
2 tablespoons extra-virgin olive oil
Coarse salt
3 garlic cloves, minced
1/2 cup finely chopped fresh flat-leaf parsley
1/2 cup plain breadcrumbs, preferably homemade
1 head radicchio, quartered, cored, and thinly sliced crosswise
Freshly ground pepper
Directions
1. Heat 1 tablespoon oil in a medium skillet over medium heat.
Add garlic, and cook until soft but not browned, 1 to 2 minutes.
Add parsley and breadcrumbs; cook, stirring frequently, until breadcrumbs are golden, about 3 minutes.
Transfer to a bowl, and set aside.
2. Bring a large pot of water to a boil, and add salt.
Add pasta, and cook until al dente according to package instructions.
Drain, reserving 1 cup cooking liquid.
Return pasta and reserved cooking liquid to pot, and add ricotta and remaining tablespoon oil.
Toss to coat evenly.
Add radicchio and half the breadcrumb mixture; season with salt and pepper.
Toss to combine.
Serve immediately, sprinkled with remaining breadcrumb mixture.
'via Blog this'
Sunday 24 September 2017
Monday 18 September 2017
Buttermilk Roast Chicken.
This recipe was inspired by Nigella Lawson’s version.
I fiddled a lot, changing the spices and sweetener, though my biggest changes were to increase the salt, garlic and marinating time.
If you wish to use Kosher salt instead of table salt use 2 tablespoons if using Diamond kosher salt and 1 1/4 tablespoons if using Morton kosher. (Here’s why).
I imagine that going forward I’ll be using this technque as a springboard for a lot of different recipes and spice combinations.
However, even when using the simplest recipe below, the chicken was unbelievably tender and flavorful.
2 cups buttermilk
5 garlic cloves, peeled and smashed
1 tablespoon table salt
1 tablespoon granulated sugar
1 1/2 teaspoons paprika, plus extra for sprinkling (I used Hungarian, a smoked one would also be delicious)
Lots of freshly ground black pepper
2 1/2 to 3 pounds chicken parts (we used all legs)
Drizzle of olive oil
Flaked or coarse sea salt, to finish
Whisk buttermilk with garlic, table salt, sugar, paprika and lots of freshly ground black pepper in a bowl.
Place chicken parts in a gallon-sized freezer bag (or lidded container) and pour buttermilk brine over them, then swish it around so that all parts are covered.
Refrigerate for at least 2 but preferably 24 and up to 48 hours.
When ready to roast, preheat oven to 425 degrees.
Line a baking dish with foil (not absolutely necessary, but Nigella suggested it and I never minded having dish that cleaned up easily).
Remove chicken from buttermilk brine and arrange in dish.
Drizzle lightly with olive oil, then sprinkle with additional paprika and sea salt to taste.
Roast for 30 minutes (for legs; approximately 35 to 40 for breasts), until brown and a bit scorched in spots.
Serve immediately.
We enjoyed it with wild rice and green beans one night; roasted potatoes and, uh, more green beans another. (Yes, I have a habit.)
Saturday 16 September 2017


Thursday 14 September 2017
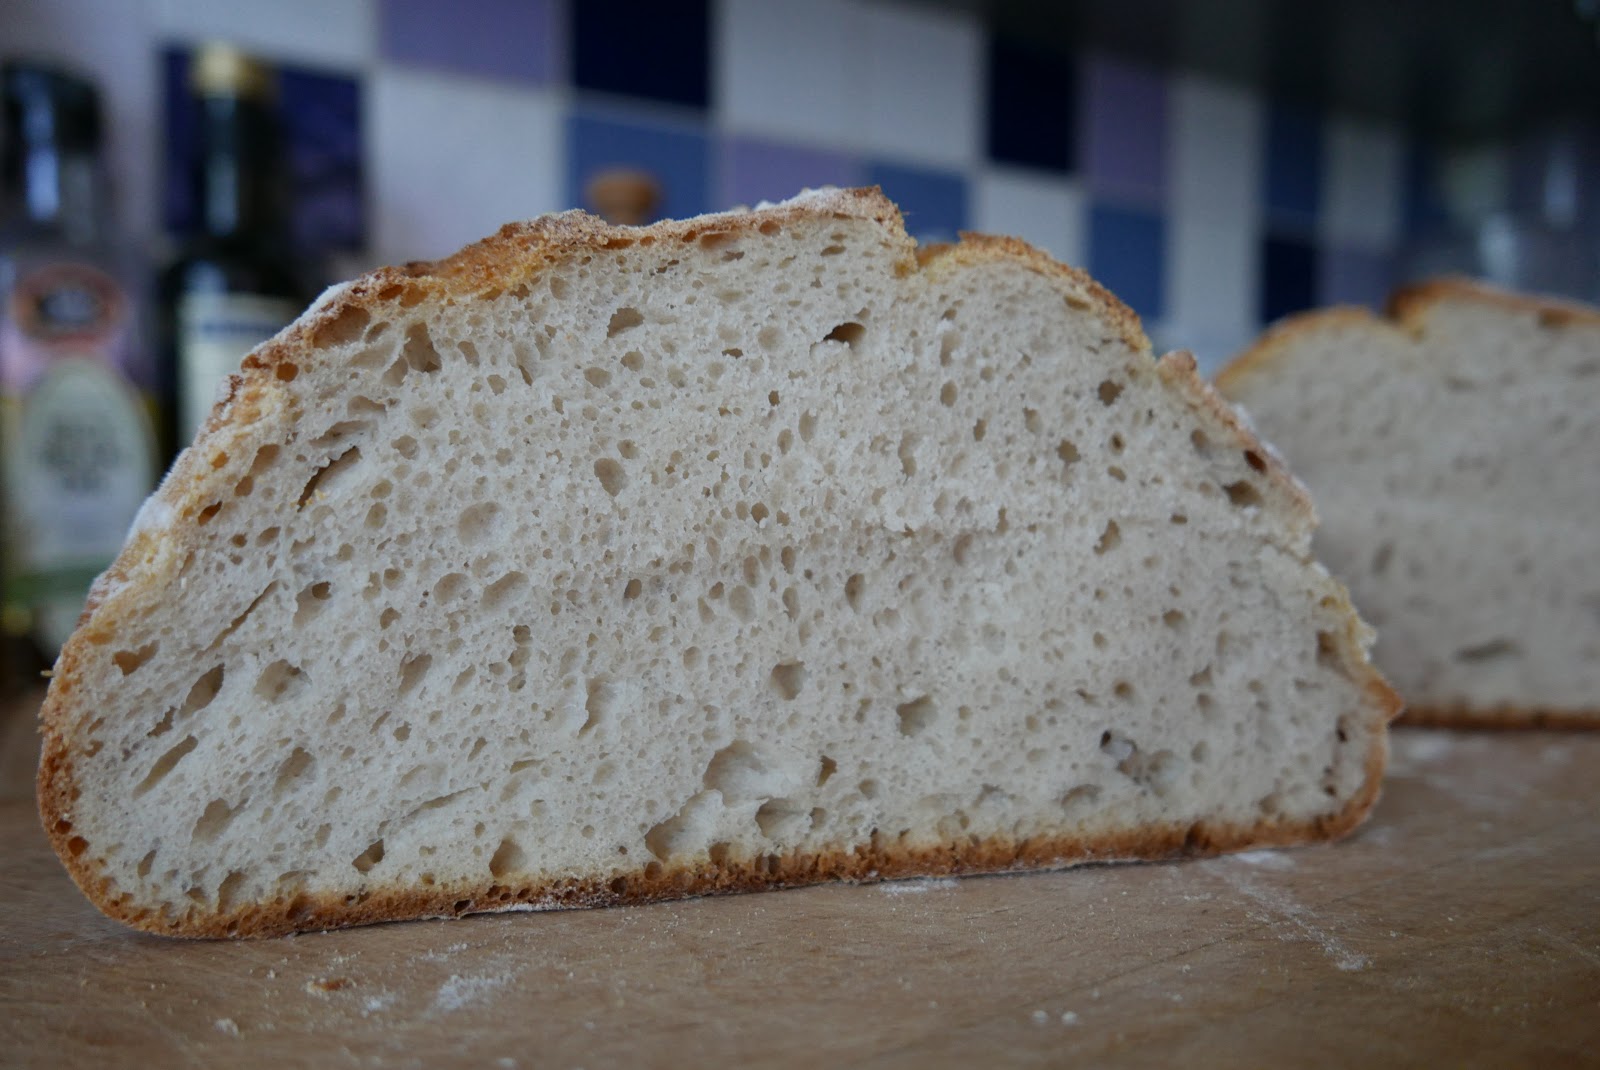
Lara's bread. From #katryarecipes "My morning exercise".
Bread - My morning exercise from #katryarecipes.
recipe:
400 wheat
100 spelt
400 water


recipe:
400 wheat
100 spelt
400 water
Friday 8 September 2017


Tuesday 5 September 2017


Monday 4 September 2017
Sunday 3 September 2017
Saturday 2 September 2017
Tuesday 29 August 2017


Saturday 12 August 2017
Zucchini fritters.
Zucchini fritters from smitten kitchen.
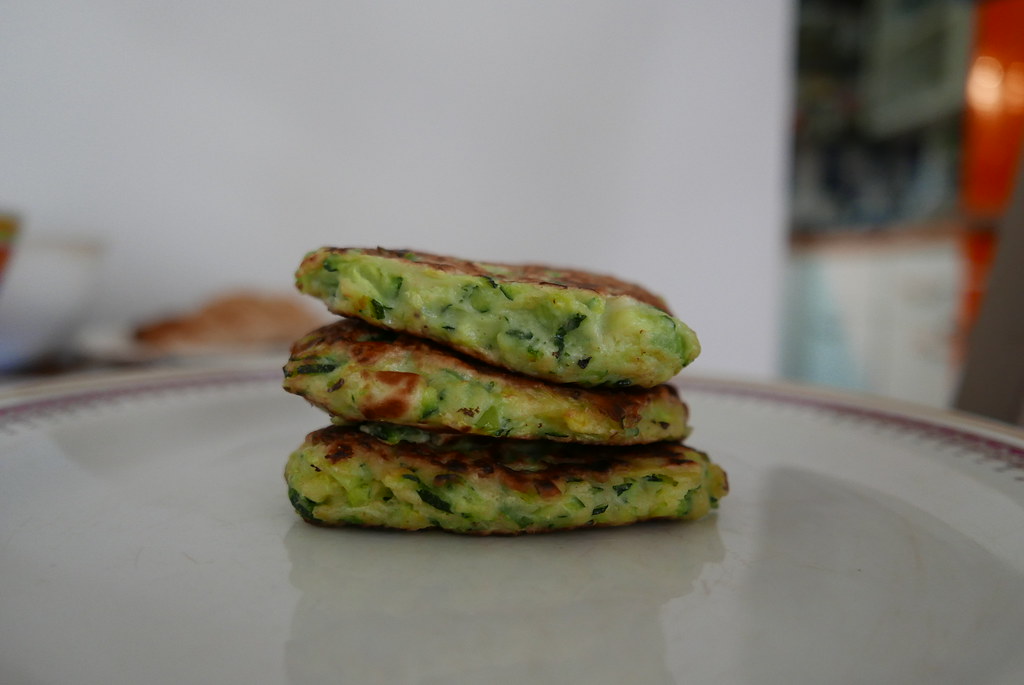
Yield: About 10 2 1/2 inch fritters
1 pound (about 2 medium) zucchini
1 teaspoon coarse or Kosher salt, plus extra to taste
2 scallions, split lengthwise and sliced thin
1 large egg, lightly beaten
Freshly ground black pepper
1/2 cup all-purpose flour
1/2 teaspoon baking powder
Olive or another oil of your choice, for frying
To serve (optional)
1 cup sour cream or plain, full-fat yogurt
1 to 2 tablespoon lemon juice
1/4 teaspoon lemon zest
Pinches of salt
1 small minced or crushed clove of garlic
Preheat oven to 200C.
Have a baking sheet ready.
Trim ends off zucchini and grate them either on the large holes of a box grater or, if you have one, using the shredding blade of a food processor.
The latter is my favorite as I’m convinced it creates the coarsest and most rope-like strands and frankly, I like my fritters to look like mops.
In a large bowl, toss zucchini with 1 teaspoon coarse salt and set aside for 10 minutes.
Wring out the zucchini in one of the following ways: pressing it against the holes of a colander with a wooden spoon to extract the water, squeezing out small handfuls at a time, or wrapping it up in a clean dishtowel or piece of cheese cloth and wringing away.
You’ll be shocked (I was!) by the amount of liquid you’ll lose, but this is a good thing as it will save the fritters from sogginess.
Return deflated mass of zucchini shreds to bowl.
Taste and if you think it could benefit from more salt (most rinses down the drain), add a little bit more; we found 1/4 teaspoon more just right.
Stir in scallions, egg and some freshly ground black pepper.
In a tiny dish, stir together flour and baking powder, then stir the mixture into the zucchini batter.
In a large heavy skillet — cast iron is dreamy here — heat 2 tablespoons of oil over medium-high heat until shimmering.
Drop small bunches of the zucchini mixture onto the skillet only a few at a time so they don’t become crowded and lightly nudge them flatter with the back of your spatula.
Cook the fritters over moderately high heat until the edges underneath are golden, about 3 to 4 minutes.
If you find this happening too quickly, reduce the heat to medium.
Flip the fritters and fry them on the other side until browned underneath again, about 2 to 3 minutes more.
Drain briefly on paper towels then transfer to baking sheet and then into the warm oven until needed.
Repeat process, keeping the pan well-oiled, with remaining batter.
I like to make sure that the fritters have at least 10 minutes in the oven to finish setting and getting extra crisp.
For the topping, if using, stir together the sour cream, lemon juice, zest, salt and garlic and adjust the flavors to your taste.
Dollop on each fritter before serving.
These fritters are also delicious with a poached or fried egg on top, trust me.
Do ahead: These fritters keep well, either chilled in the fridge for the better part of a week and or frozen in a well-sealed package for months.
When you’re ready to use them, simply spread them out on a tray in a oven until they’re hot and crisp again.
Friday 4 August 2017
Thursday 3 August 2017
Chickpea Broccoli Rabe Hearty Soup.
Chickpea Broccoli Rabe Hearty Soup Recipe | The Local Rose:
Ingredients:
3 tsp olive oil
2 slices pancetta, chopped fine (omit for vegetarian version)
1 large or 2 small carrots peeled and diced
2 celery stalks diced
1 onion diced
4 oregano sprigs
A pinch of dried chile flakes (optional)
salt
4 garlic cloves chopped
2 cups cooked chickpeas
2 cups chickpea cooking liquid
2 cups chicken stock (or vegetable)
1 bunch broccoli rabe
Olive oil
Heat heavy soup pot add: 2 tsp oil, pancetta.
Cook for 3 minutes add, carrots, celery, onion, oregano, chile.
Cook stirring now and then, until soft and slightly brown about 12 minutes.
Turn heat down if too brown.
When vegetables are cooked add: salt, garlic, chickpeas, chickpea liquid, stock.
Bring to a boil, reduce to simmer.
Cook for 10 minutes.
Meanwhile trim and rinse the broccoli rabe and discard stems.
Chop coarsely and add to the soup.
Cook for 10 minutes.
If not tender cook longer.
Taste for salt.
Garnish with oils oil.
'via Blog this'
Subscribe to:
Posts (Atom)